 This blog post continues where How We Plan Our Homestead Gardens ends; digging deeper into some of the topics highlighted in that article and sharing some new information as well as helpful resources. Let's dig in and begin! Filling your Garden Beds: As I shared in How We Plan Our Homestead Gardens, on our homestead we practice a methodology called square foot gardening. This methodology uses containers and therefore requires one to figure how to best fill those containers before planting seeds or seedlings. This can feel intimidating sometimes depending on how you feel about math. Regardless of the size and depth of your garden beds these resources should be helpful in ascertaining the correct amount of container soil to add.
Gardening Tools: Along the journey of gardening one can definitely accumulate some tools over time. Whether you are obtaining gardening tools new, using ones you already own and/or borrowing them from someone else please take some time to clean each tool thoroughly. It's important to get into the habit of cleaning tools before and after using them in the garden; especially if they have been handling diseased plants. Make sure to carefully inspect your tools as well, to notice any need for repair or maintenance, especially if there is rust.
Zones: As I wrote about in How We Plan Our Homestead Gardens it's important to establish a planting timeline whether you are planting from seed or obtaining seedlings. Part of that process involves establishing what geographical grow zone you are in; this is typically based on your regional climate. Below I have linked a website where you can enter your zip code and find out your grow zone.
 Seeds: Depending on what route(s) you are exploring you may be growing your gardens from store-bought seedlings and/or from your own homegrown seedlings that you start from seed. Now that your garden beds are full, fed and you know what grow zone you live in, you can begin to make both a list, and timeline, of what you want to grow. I highly recommend using seeds that are from local distributors; organic, heirloom and native varieties when possible. You can also find local seed exchanges/shares. Over the years, I have grown my own selection of home cultivated seeds from both cultivated and wild plants on our homestead. The times we do buy seeds I procure them from these two sources mainly:
Feel free to share additional seed companies to check out in comments below! 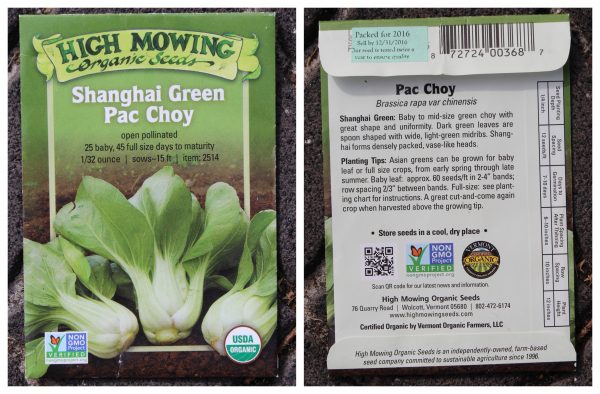 If you are planting from seed some basic supplies you may need specifically for growing your seedlings are:
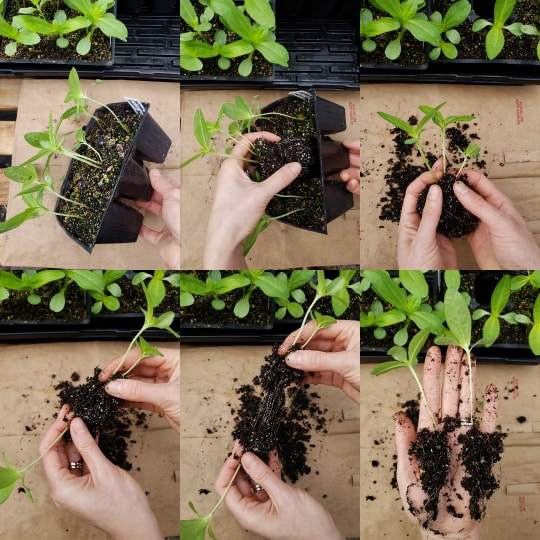
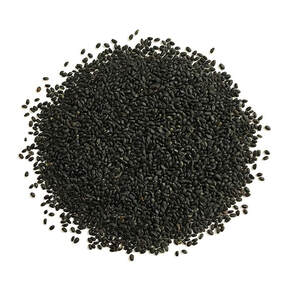
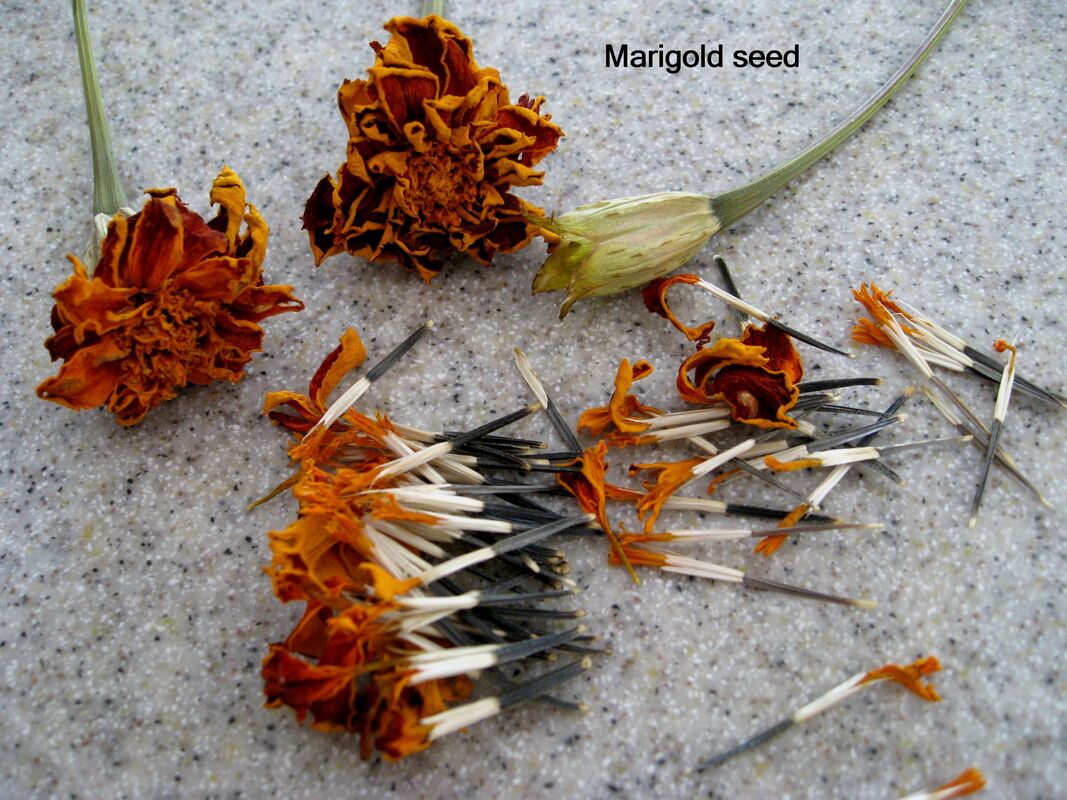
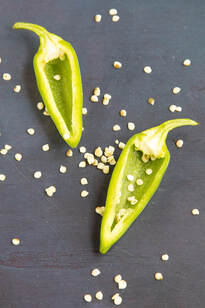
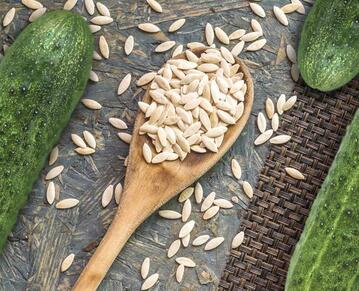
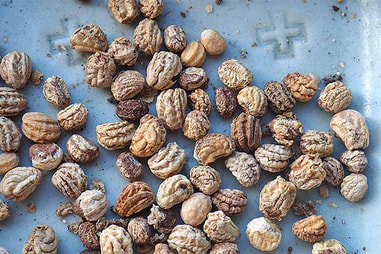
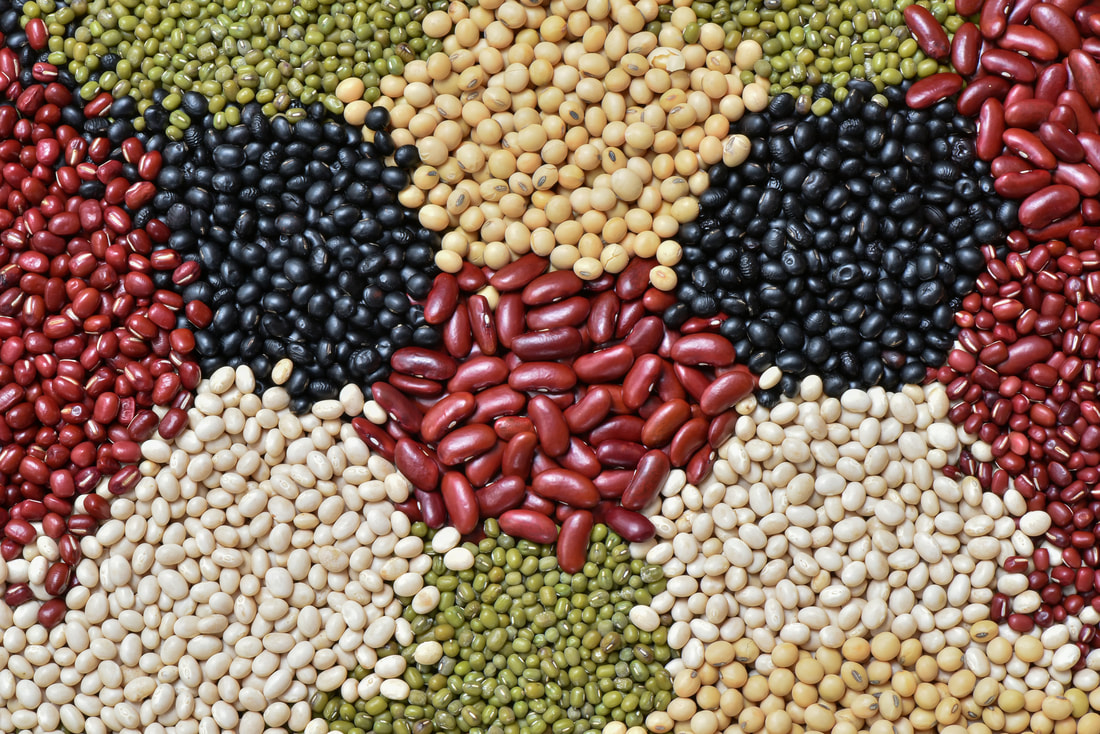
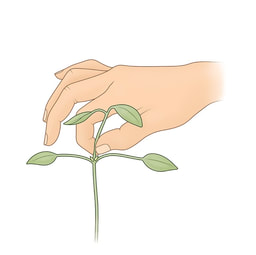
Some seeds can be directly sowed into your garden bed and some are best started as seedlings in an indoor grow space before transplanting into the garden bed. You can go all-out and obtain indoor grow tents, shelving systems, lights, fans, warming mats etc. And you can keep it simple and affordable and set up a table or two in a windowsill or well-lit space to grow seedlings. When you are planting from seed it's important to read the seed packets completely and do some research on the specific species of plant you are growing to learn the best way to germinate that seed(s). Again, some seeds are best grown by directly sowing them into the garden bed (ie. cucumbers, legumes, watermelon, radishes, leafy greens etc.). Some seeds need to be soaked and/or scarified to germinate/sprout before planting (ie. passionflower/Maypop, okra etc.). After all seeds have been planted its important to know that you can save the remaining seeds in storage until the next grow cycle, which, depending on the plant, can be within the same grow season or in the next year. Some examples of places you can store seeds are: in the seed packets themselves, in glass baby food jars or mini ziplock bags. Make sure the bags/jars holding your seeds are sealed properly and stored in a cool, dark place. The germination timeframe varies from plant to plant; some can take as little as a week or two before peaking above the soil and some can take longer. Be patient and remember that one of the biggest gifts growing food offers us is practice in being present, moving slowly and honoring the ebbs and flows, the rhythms of nature. This is a deeply valuable practice and is essential to decolonizing our relationship to the land and to life itself. So instead of trying to rush the process and make the experience of growing food fit into your expectations or into the capitalistic pace of our culture, let the experience of growing food change you, teach you, transform you and encourage you to question and redefine the pace at which you move through life. Every seed equals one plant, so essentially one seed is needed to grow one plant. Using a finger or tool specifically for sowing seeds, make a hole about an inch deep into the soil. Place the seed into that hole the gently cover the seed with the soil. If you are planting a seedling the hole made into the soil would likely be scooped/dug with the palm or a small shovel. The seedling and its soil would be removed from the seedling tray and gently placed into the hole then covered gently with the soil. Taking the hands and tenderly yet firmly pressing the soil around the base of the seedling stem to ground it into the garden bed. It's a good practice to plant a few seeds, typically 3-4 per hole, to ensure there is more potential for the seed to make its way to a mature plant. Seeds and seedlings are particularly vulnerable because they are small, their roots are still growing and not fully established meaning they are more easily uprooted or disturbed. Additionally, in their young stages they are more delicate as well. Below, this sacred seed prayer beautifully articulates why planting a few seeds is a good practice. "Plant four seeds One for the worm One for the crow One to rot and One to grow" There are many things that can happen to a seed along its path to maturity. A seed may not germinate, a seedling may not be able to withstand disease, wild animals and bugs nibbling on them, the weather patterns or watering cycle can sometimes be too harsh on a seed. "For a seed to achieve its greatest expression, it must come completely undone, the shell cracks, its insides come out, and everything changes. For someone who doesn't understand growth it can look like destruction." Some seeds are best grown by sowing them into small seedling containers and then easing them into the garden via a process call hardening. Hardening is essentially weaning an indoor seedling by slowly exposing the seedling to the outdoors for a few hours a day over the course of 3-5-7 days. This practice gets the seedling accustomed to being exposed to the living outdoors in the sun, rain, breeze and amongst wild life. Once that period of time has passed the seedlings are more prepared to withstand the transplant and transition from growing indoors to outdoors. Below are some examples of varying sizes of seed: 1) Basil Seeds (top left) 2) Cucumber Seeds (top right) 3) Marigold Seeds (middle left) 4) Nasturtium Seeds (middle right) 5) Pepper Seeds (bottom left) 6) Legumes Seeds (bottom right)
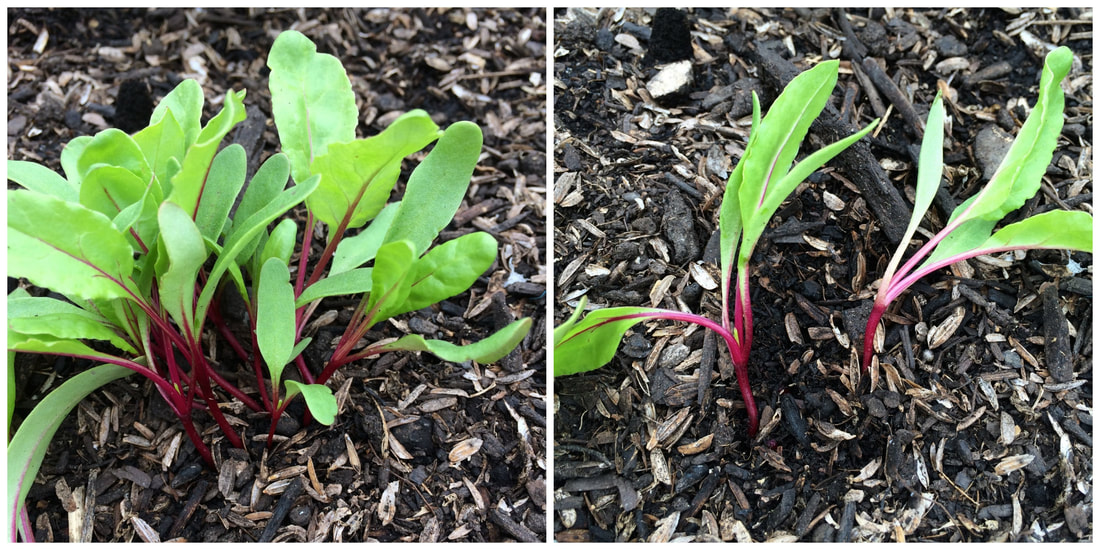
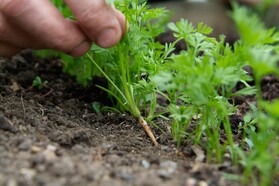
Seedlings: Magically, the seeds have emerged from the earth to reveal themselves as seedlings; symbols of new life, life and hope. Outlined below are some ways to tend to seedlings/starts as they are continuing to grow into mature plants.
I hope this blog post is supportive along your growing journey! Blessings, Candace Glossary:
What is peat moss? Peat moss is a dead fibrous material that forms from mosses and other living materials decomposing in peat bogs. It’s used mainly as a soil amendment and has an acidic pH. It doesnt contain harmful microorganisms or weed seeds. What is vermiculite? Vermiculite is a mineral that is used in gardening to aerate the soil and increases water and nutrient retention. It wont deteriorate, rot, mold, its sterile and non-toxic. What is compost? Nutrient rich organic matter that evolves from waste. What is lime? Ground limestone rock that alkalizes the soil. What is sea kelp meal? Helps the support soil structure, maintain moisture and its natural minerals and amino acids are like a super food for microorganisms in the soil. What is fertilizer? Nutrients essential to plant growth. (eg. chicken poop) What is azomite? Natural mineral that serves as a fertilizer, a soil amendment and can also help fight off pests.
0 Comments
Your comment will be posted after it is approved.
Leave a Reply. |

 RSS Feed